
How to begin your own sourdough starter
My new years resolution this year was to finally nail sourdough on my own. January 2nd, 2025 I began my first starter and as of today it’s still kicking! It is fondly named Doughny Soprano (I watched the whole series over the holidays). I loved all the bread puns I saw as I researched how to make my own starter and felt I must follow this tradition. The amount of information I was seeing online is overwhelming about how to really get it started and make sure it is strong. I want to share what I did and some tips I learned along the way so you won’t be as lost as I was!
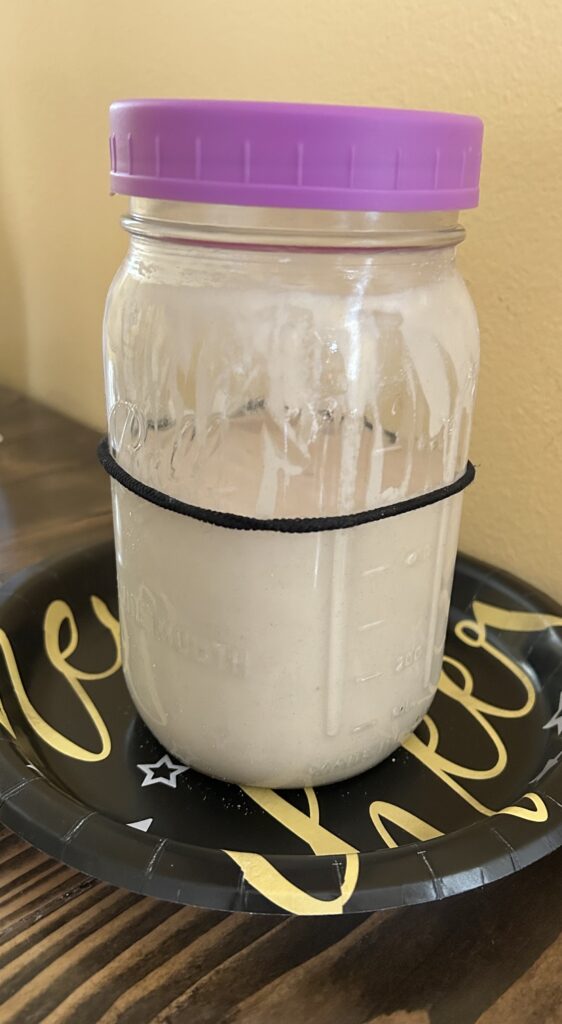
The first day I grabbed myself a wide mouthed mason jar and mixed together 1 cup of all purpose flour and 1 cup of room temp filtered water. Everyone says you want a “pancakey” consistency whatever the heck that means. I basically wanted it to be thick but moving. As you continue on your journey you can maintain a stiff starter, which we can cover later on.
After that I rested the lid on top. That is important by the way, you want your starter to be covered by also have air flow. So don’t tighten your lid. I purchased some plastic screw on lids from Amazon a while ago and just plopped that on top without tightening and it worked just fine.
I let it sit overnight and the next day around the same time I dumped out a little more than half of what was in the jar and added another 1 cup of ap flour and 1 cup of filtered water. I did this for about a week and then I began researching further why I didn’t really see anything happening. This is normal that nothing was happening by the way, I’m just impatient.
First thing to note, a whole cup of flour and a whole cup of water is a large starter to maintain. Ya girl was going through flour like CRAZY. After relying on some research online I realized I can cut this down significantly and still get the same results. About a week and a half in I started doing about a half cup of ap flour to a little less than a half cup of water. I realized that was also a big part of this journey is learning the consistency you want and not blindly following recipes. I knew I wanted my starter to be thicker and sometimes a 1:1:1 ratio of flour water and starter was leaving me with a very liquidy starter. I didn’t like that and I felt like it didn’t progress as well as if I left it a little thicker.
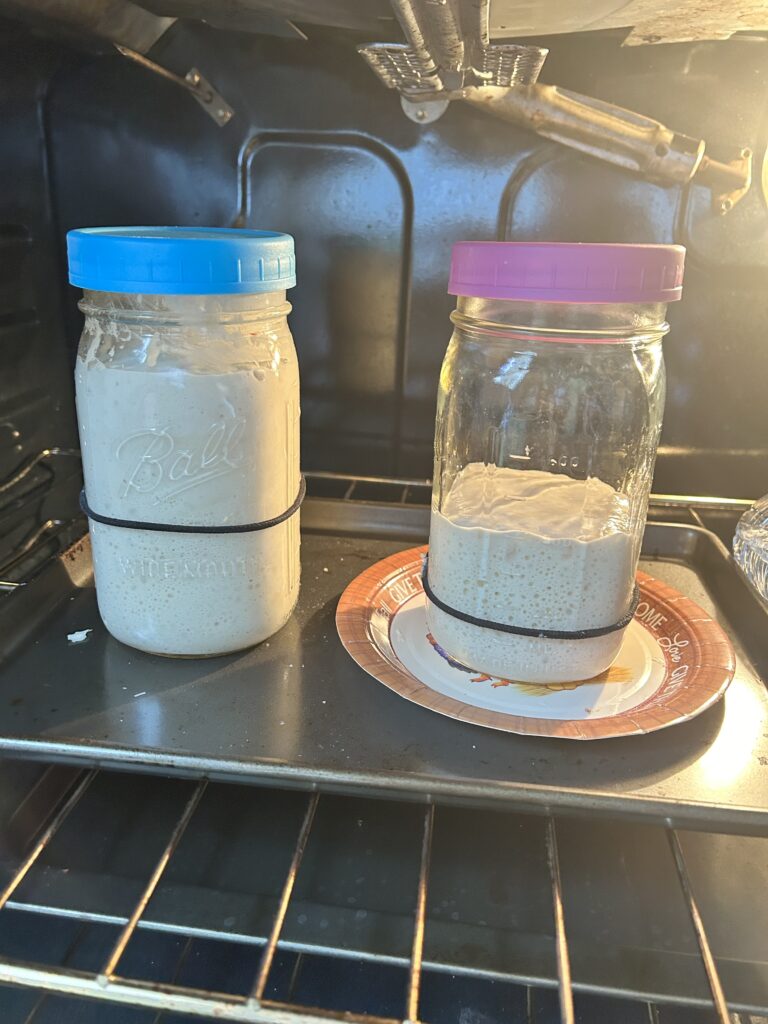
There are strong opinions online on the topic of using measuring cups vs measuring by grams on a food scale. I decided to pour my discard from one day into a second wide mouthed jar and did a true 1:1:1 ratio using my scale for measurement. I did ~100g which was way too much flour and water again so I adjusted moving forward. I called this second jar Meadough Soprano (lol get it).
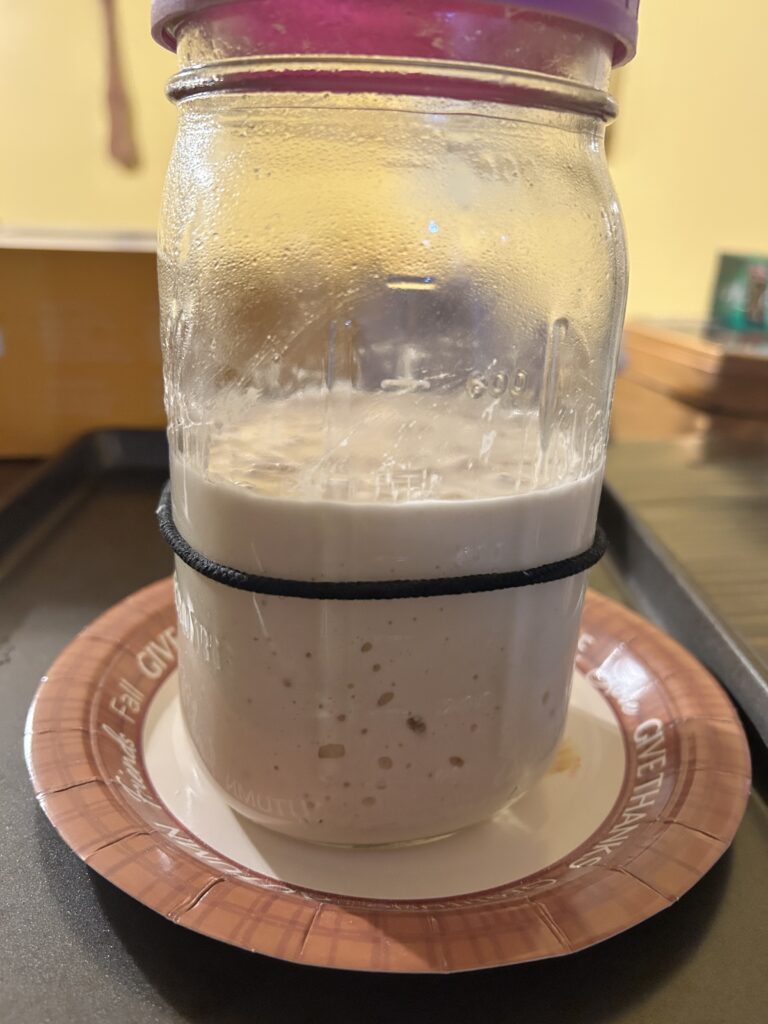
Environment is another factor for your starter’s success. I began keeping my starter in the oven turned off with the light on. That provided a little bit of warmth that it was not getting on my counter in the middle of winter. I noticed that helped improve things a little bit on the activity front. I was seeing some rise (but not yet doubling). I had to put notes all over my oven covering up the buttons necessary to turn the oven on essentially saying turn on this oven while my starter is inside and you will die. It worked well enough that my husband has only almost accidentally ruined my starter once and it was saved with plenty of time. However I was still getting frustrated that I wasn’t seeing what everyone else’s was doing by this point. Some were even passing a float test and I can’t get the darn thing to double.
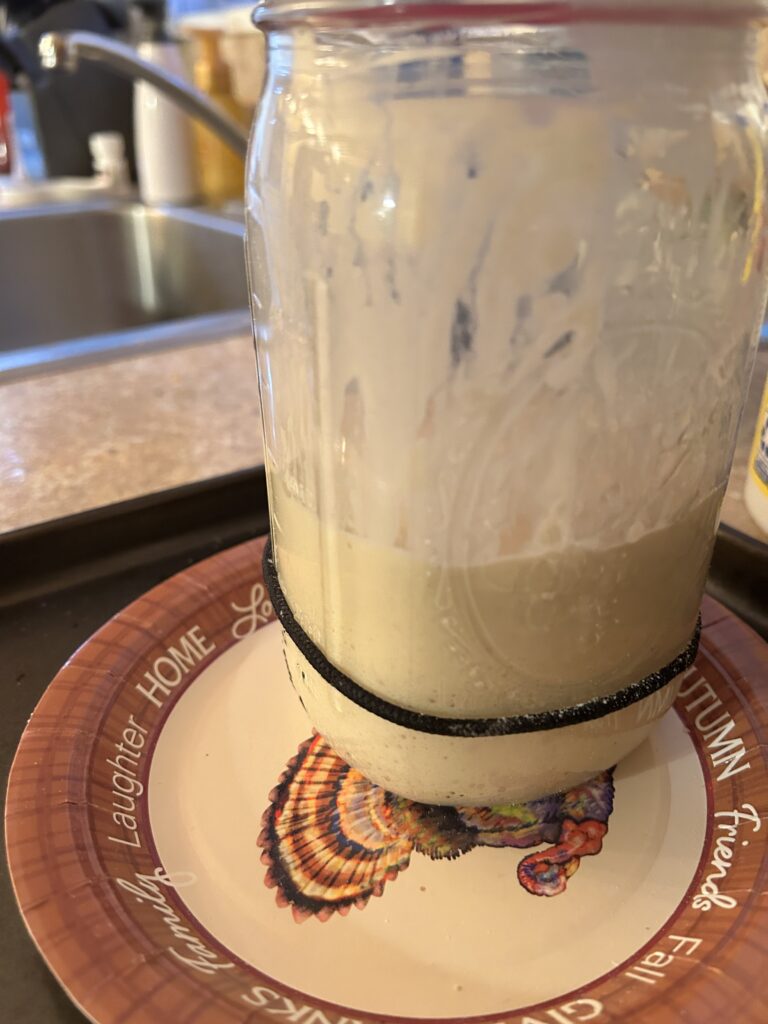
About 2 weeks in I ran out of all purpose flour and relied on bread flour to feed Doughny. This is where the magic started to happen. I had watched so many videos and read many articles and a lot of them said you can use either bread flour or all purpose flour to get your starter together and it wouldn’t make a difference. WRONG. I had no activity at all with all purpose, maybe a slight rise but not even close to doubling in size like you’d want your starter to. Once I switched to using bread flour my starter exploded!!! I had never seen it rise that much before in my life and I was kicking myself that I hadn’t been using bread flour that whole time. At this point Doughny was blooming and I was so excited to finally be on the road to sourdough.
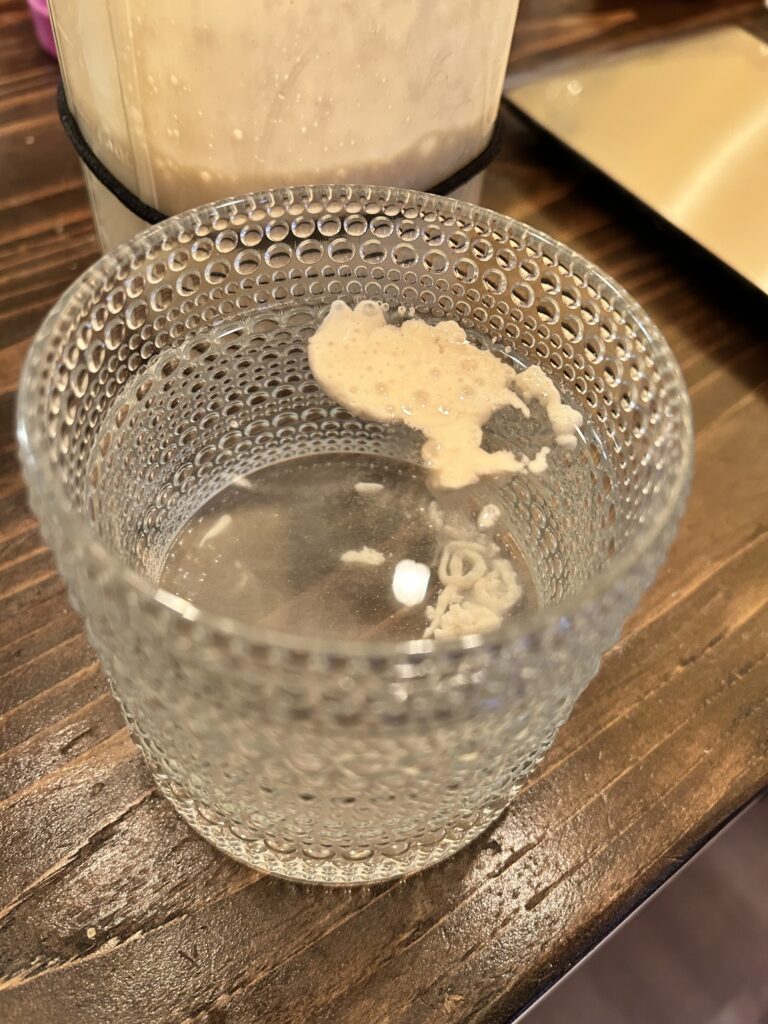
After about a week of feeding with bread flour it was game time. I had noticed that my starter was doubling if not more after every feeding and I decided that it was time to do the float test. This was so nerve wracking as I was at the point of extreme impatience and I wanted to bake like two weeks ago. I stirred up my starter before feeding and plopped a spoonful into a glass of water and there it was floating away like a little bouey. You would’ve thought I discovered fire the way I was celebrating. I fed the rest of my starter and prepared because that day I was making my first loaf!
Sourdough Starter
What you need to create your very own starter
Total Time Needed :
5
Minutes
Things Needed?
Steps:
Take your clean glass jar and pour in 1/2 cup of bread flour and 1/2 cup of filtered room temperature water. We want to use a 1:1 ratio so if you prefer to use a scale decide on the amount of grams you’d like to use and do that going forward. To start I’d recommend 50g flour and 50g water.
Stir together until flour is fully mixed in with the water. Consistency should be thicker but still moving (“pancakey”/oatmeal without the lumps). If you need it to be thicker/thinner add a small amount of flour or water to get to the consistency you need.
Every day moving forward you’ll want to discard at least half and feed using the same 1:1 ratio. If you used 1/2 cup of flour and 1/2 cup of water you’ll want to keep 1/2 cup of starter in the jar. If you used your scale use the same methodology in grams.
Step 4
Once your starter is doubling in size every day you can begin keeping your discard to use for recipes. It is also time to try a float test. If you place a small amount of your starter into a bowl of water and it floats this means you can start using it to bake!